


Photo by Amy Hirschi on Unsplash
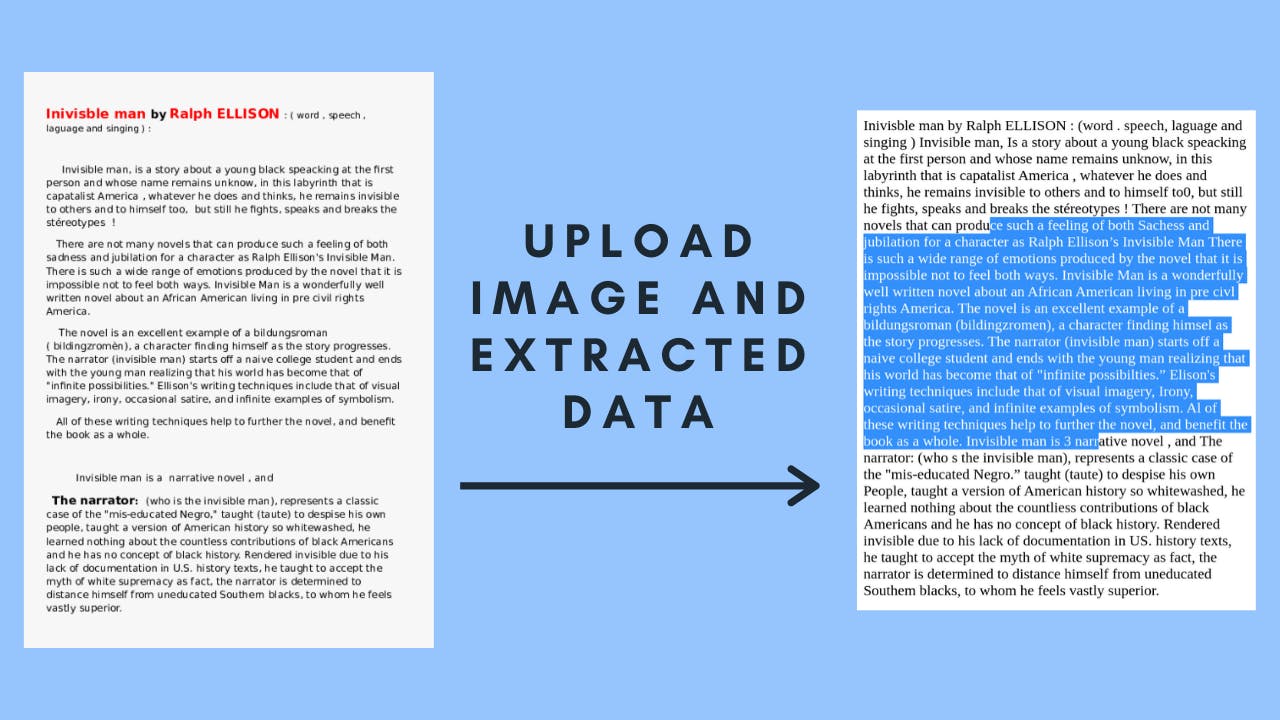
Have you ever tried to typed data from the image for creating an excel sheet? Yes, How'd you done that?
Before going further welcomes you all to read this blog, I usually write articles about short-codes and some useful javascript functions. These functions can help you to make your code faster and efficient. So, if you haven't read the previous article please check it out from here otherwise stay tuned till the end to learn something new 😀
When I faced the same situation(mentioned in the quote above) a few days ago, I tried to look alternatives and found word called OCR (optical character recognition - it is a technology that involves reading text from paper and translating the images into a form that the computer can manipulate) then I looked more about integration with javascript and found one easy/shortest way to implement. which I'll share here.
I hope you have little idea about nodejs and NPM. let's dive in.
First, we need to create an empty directory and initialize npm from root directory like below:
npm init
Once it's done, create one empty file called app.js for now.
So, to make this thing possible I've used some libraries which are:
1. Express.js
Express is a minimal and flexible Node.js web application framework that provides a robust set of features for web and mobile applications. you can read more from here
Install express by following command
npm install express --save
2. fs
The fs module provides an API for interacting with the file system, it comes with nodejs installation so no need to install individually to use. you can read more in detail from here
3. multer
Multer is a node.js middleware for handling multipart/form-data, which will be used here to upload a file into our app directory. you can read more in detail from here
Install multer by following command
npm install multer --save
4. tesseract.js
This library plays the main role to build this module because tesseract is a javascript library of popular one of OCR engine called a tesseract. This provides any type of data from images and more, you can read about more on here
Install tesseract.js by following command
npm install tesseract.js
That's it we are pretty much set up now, let's do some code to make the operation successful 😎. I hope you have an app.js file created into your root directory.
Creating a view for file upload
Before that, we need a view too. to get a file from a user via file input. So, create one index.ejs the file inside /views directory. (EJS is a simple templating language that lets you generate HTML markup with plain JavaScript) and write code as follow:-
<!DOCTYPE html>
<html>
    <head>
        <title>OCR Demo</title>
    </head>
    <body>
        <h1>Image to PDF</h1>
        <form action="/upload" method="POST" enctype="multipart/form-data">
            <input type="file" name="avatar" />
            <input type="submit" name="submit" />
        </form>
    </body>
</html>
Write code for document extraction
app.js
1. Import all dependencies
const express = require('express');
const app = express();
const fs = require('fs');
const multer = require('multer');
const { createWorker } = require('tesseract.js');
2. Initialize tesseract worker and setup logger to monitor the process
const worker = createWorker({
    logger: m => console.log(m)
});
3. Setup uploader using multer to upload all files into /uploads directory.
// Setup storage options to upload file inside upload directoty
const storage = multer.diskStorage({
    destination: (req, file, cd) => {
        cd(null, './uploads')
    },
    filename: (req, file, cb) => {
        cb(null, file.originalname)
    }
});

// Intailized upload with storage options
const upload = multer({ storage }).single('avatar');
4. Setup view engine to support ejs files render on view and render index.ejs on default route ('/').
app.set("view engine", "ejs");
app.get('/', (req, res) => res.render('index'))
5. Setup upload method, to handle all requests after submitting click from our view.
// Defined API for handle all requests comes on /upload route (or from index's submit btn click)
app.post('/upload', (req, res) => {

    // Stored file into upload directory
    upload(req, res, err => {

        // Reading uploaded file from upload directory
        fs.readFile(`./uploads/${req.file.originalname}`, (err, data) => {

            // Displaying error if anything goes wrong
            if(err) return console.error("this is error", err);

             // Self execution function to use async await
              (async () => {
                // Tesseract worker loaded with langague option
                await worker.load();
                await worker.loadLanguage('eng');
                await worker.initialize('eng');

                // Document extraction by recognize method of Tesseract and console result
                const { data: { text } } = await worker.recognize(data);
                console.log(text);

                // Used getPDF method to genrate pdf and stored it into app directory by using writeFileSync method
                const { data : pdfData } = await worker.getPDF('Tesseract OCR Result');
                fs.writeFileSync(`${req.file.originalname}.pdf`, Buffer.from(pdfData));
                console.log(`Generate PDF: ${req.file.originalname}.pdf`);

                // Respond send to view with result text and terminated worker after porcess complete
                res.send(text)
                await worker.terminate();
              })();
        })
    })
})
Please read comments in code to understand more about it
6. Define port and initialize the app by using listen() method.
const PORT = 5000;
app.listen(PORT, () => console.log("App is running on", PORT))
Start the app and extract data from a document
From root directory start your app by the following command:
node index.js
Now, open http://localhost:5000/ to use your own OCR app. Once you upload and submit your file you will get a result in few seconds till then you can check your terminal to see processing logs. ( if you want a more specific type of extraction then there are many more functionalities provided by tesseract like extract data from a particular region, multi-language support.)
Full source code is here.
This solution really worked for me, it's not very accurate for low-quality images though. So, I thought to share it with you too. I hope you understood my explanation ( if yes, please hit like ❤️ button ) and you learned something new or found informative then hit the follow button too from here. Because I'm sharing every day something useful. 😋